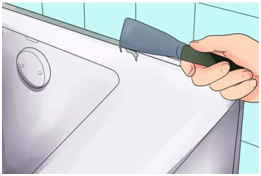

Prepare the area. Remove any old silicone from the work area.
- This can be done with a utility knife.
- Any contaminants like oil and grease could prevent the silicone from bonding so clean the area thoroughly with alcohol.
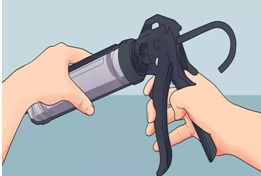
Load the silicone gun. With a knife, cut the tip at 45 degrees, keeping the hole fairly small. This will give you better control over the amount of silicone released. The opening should not be so big that a bead cannot be formed, and it should not be so small that caulk tube seems highly pressurized.
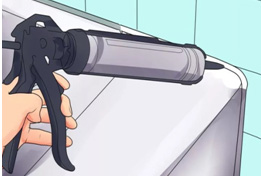
Begin to gently apply seal around the desired area.
For best results, hold the gun at a 45 degree angle. You want to apply the caulking in an even and steady manner.Be careful not to apply too much as it can be tricky to remove the excess.When you come to the end of the area you plan to seal then release the handle and give it a quick pull to eliminate any strings.
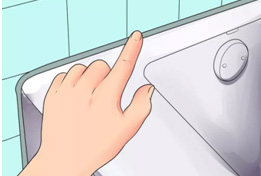
Complete the seal with tooling.
- Tooling is the process of using your finger to create a seamless, clean bond between the sink and silicone sealar.
- Gently pull your finger around the silicone to complete the seal. You may which to use latex gloves. Now wipe away excess silicone from your finger, and allow to dry. When smoothing the caulk, start in a corner and go 1 / 2 to 3 / 4 across. Then start in the oppoiste corner and meet in the middle. When meeting the already smoothed section, lightly, lift your smoothing device so there isn’t a hump.